Distributing Modules
Once your module is working as expected, it’s time to share it with the world. There are two primary ways to distribute a jamovi module: Local Testing (side-loading) and Public Release (the jamovi library).
1. Local Testing: Side-loading via .jmo files
Every time you run jmvtools::install(), it produces a file with the .jmo extension in your module’s root directory (e.g., SuperAwesome.jmo).
This single file is your module. It contains all the R code, YAML definitions, and metadata needed to run in jamovi.
Warning
Platform Compatibility: A .jmo file only works on the operating system, architecture, and jamovi series (i.e. current vs solid) it was built on. For example, a .jmo built on an Intel Mac will not work on a Windows machine or an ARM-based Mac. There is no guarantee that a side-loaded .jmo file will work on a colleague’s machine unless their setup matches yours.
The are 8 different setups:
- jamovi solid on Windows
- jamovi current on Windows
- jamovi solid on macOS (Apple Silicon)
- jamovi current on macOS (Apple Silicon)
- jamovi solid on macOS (Intel Based)
- jamovi current on macOS (Intel Based)
- jamovi current on linux on x64
- jamovi current on linux on arm
The reason there are so many combinations is R itself: R packages that contain compiled C or Fortran code must be built separately for each R version, OS, and CPU architecture.
How to Side-load:
- Send the
.jmofile to your colleagues or testers. Once they receive the file, ask them to: - In jamovi, open the jamovi library (the “plus” icon in the top-right corner).
- Select the Side-load tab.
- Choose the
.jmofile to install it.
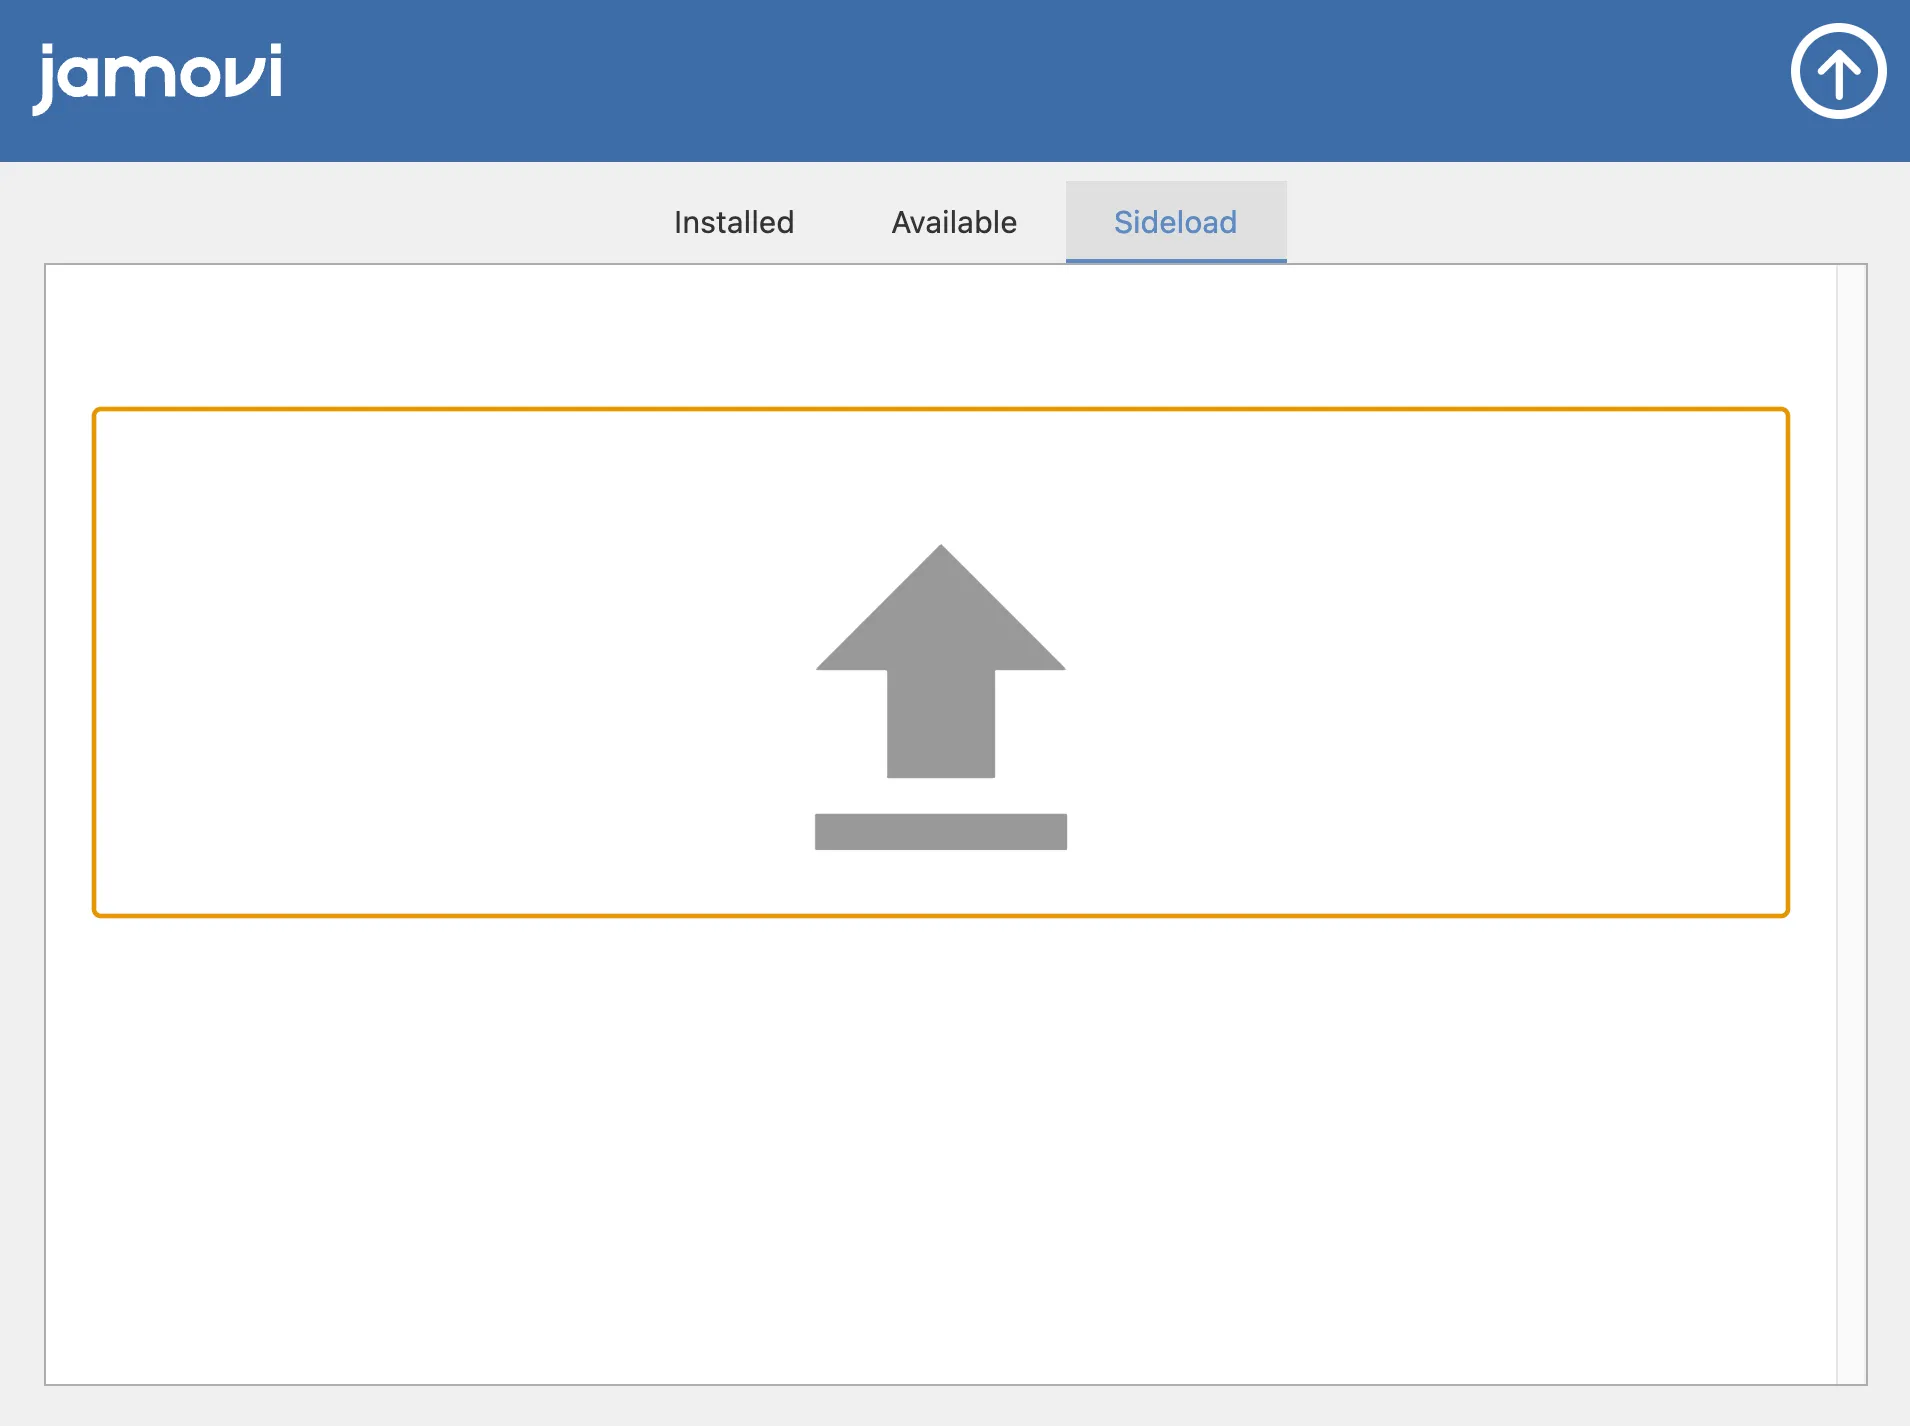
The module will be installed locally and appear in your ribbon menu just as if it were from the library.
2. Public Release: The jamovi Library
To reach the entire jamovi community, you should submit your module to the official jamovi library. This makes your module browseable, searchable, and easy to install for any user.
Most importantly, listing your module in the library means that the jamovi project takes care of building your module for all the different platforms (macOS, Windows, Linux, and their respective architectures) and future jamovi versions.
Step 1: Preparing for Submission
Before you share your module, make sure you meet the following requirements:
- Documentation: Ensure your analyses have clear titles and descriptions.
- Stability & Testing: Thoroughly test your module against different types of datasets to ensure it doesn’t crash. This includes datasets with missing data, variable names with special characters, and entirely empty datasets (using Input Checks).
- Build Success: Make sure your module builds successfully (e.g., using
jmvtools::install()) without any errors. - Metadata: Check your
DESCRIPTIONfile for an accurate summary and author information. - Clean Repository: Do not commit build artifacts (files generated during the build process, like
build/,dist/, or.jmofiles) to your Git repository. Use a.gitignorefile to keep your source code clean:
# .gitignore
build/
dist/
*.jmo- Licensing: You must always specify a license in your
DESCRIPTIONfile (e.g., GPL2, MIT, Apache). An OSI approved open source license is required for publication in the jamovi Library (An exception to this is AGPL3, which isn’t accepted at this time). We recommend you use GPL2+ (GPL2 or newer) for maximum compatibility; your module must comply with GPL licensing requirements if it depends on a GPL-licensed R package.
Note
Why is GPL Licensing necessary?
If your module uses and ships with an R package licensed under GPL (such as lazyeval or ggstance), it constitutes a “combined work.” The GPL license allows this, but in return, it requires your combined work to also be released under the GPL. The easiest way to check this is to browse the R packages installed in your module’s build folder and look for “copyleft” licenses like GPL2 or GPL3.
- English: module must be available in English. It can be available in other languages too, but English is a minimum.
Step 2: The Submission & Review Process
If you are satisfied that your module is ready, please send an email to the jamovi team at contact@jamovi.org.
Always provide a link to your source code (e.g., a GitHub repository). This allows us to perform the multi-platform builds. You may also attach the .jmo file for initial testing.
The Review Process: Once submitted, the jamovi team or a community member will review your module. After the review, there are usually some comments or minor issues that need to be addressed before it can be accepted. This feedback is typically provided via an email thread or as an issue on your GitHub repository. Once everything looks good, your module will be built across all platforms and listed in the jamovi library!
Step 3: Submitting an Update
As you continue to improve your module, you will want to push updates to the library. The process is simple:
- Update the Version: Increment the version number in both your
0000.yamland yourDESCRIPTIONfile using standard Semantic Versioning (e.g., change1.0.1to1.0.2). jamovi uses these version numbers to notify users when an update is available. - Push to Source Control: Push your latest code changes to your GitHub repository (or whichever source control platform you use).
- Notify the Team: Send a quick follow-up email to the jamovi team, or drop a message in the jamovi Slack, letting them know a new version is ready to be built.
- New Version is Published: The jamovi team will update the module in the library. Updates are typically pushed once a week (i.e. Mondays).
Next Step: You’ve completed the core tutorial series! For some final technical tips, check out the Additional Notes.